Now, here’s something that will really impress your little Munchkins these holidays, and you won’t believe how easy it is.  You’ll have one of those OMG, look what I made moments, and then you can feel really proud of yourself as you display your Super-Mum efforts to the family.  These are those big, fat, fluffy looking marshmallows you see floating around on top of mugs of hot chocolate.  Perfect for this freezing, cold winter weather.  And why not live on the wild side and go for a not-so-marshmallowy colour like….oh, I don’t know…..how about Blue, or Orange, or what about Green?  Today we took a vote and Blue won, which is nice because the boys in this house are outnumbered  2 to 1.
I know some of you are going to be wondering why I am making marshmallows when I have a Type 1 Diabetic in the house, but we live by the everything in moderation rule, which means the occasional treat in the school holidays. Â Hopefully this will mean she will be open and honest about what she eats instead of hiding in a corner somewhere sneaking forbidden goodies. Â Of course, being on an insulin pump helps tremendously with letting her eat when she feels like it, Â and don’t misunderstand me, we still have family food guidelines, we are just willing to bend a little on special occasions. Â But, moving on now, this week’s posts are about Holiday Treats which we class as “Sometimes Food”, and next week I will be back with Diabetic Friendly Lunch Box Snacks.
So, go on, take the kids to the kitchen, whip up a batch of Marshmallows and some mugs of hot chocolate, Â and sit down and have a Family Movie Night with the kids.
Homemade Eggless Marshmallows
Ingredients:
3 Tbl (or 3 sachets) Gelatine + 1/2 Cup Water
2/3 Cup Cornsyrup (which I can never find, so you can use a mix of  1/2 Cup Glucose Syrup and 50mls Water)
1/2 Cup Water
2 Cups Caster Sugar (again, I just use regular sugar)
1/4 tsp Salt
1 Tbl Vanilla Extract (it’s much nicer than Essence)
Food Colouring of your choice
1/2 Cup Cornflour
1/2 Cup Icing Sugar
Directions:
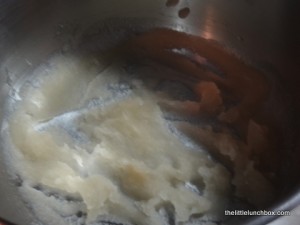
In the large bowl of your electric mixer, combine the gelatine and 1/2 Cup of Water
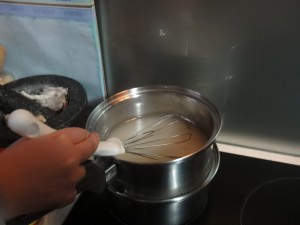
Now, in a double boiler, or a heatproof bowl placed over a saucepan a bit less than half-full of boiling water on the stove, combine the sugar, 1/2 Cup of Water, Glucose and Water mix and bring it to the boil.
If you are going to let the kids have a stir, make sure you do it while the mixture is still cold. Â When this boils it is hot and sticky like toffee, so it’s essential for the adults to do the cooking .
While waiting for this to boil, combine your cornflour and icing sugar in a small bowl. Â Lightly spray your baking tray/dish with cooking spray. Â Don’t worry if you don’t have any, I lightly brushed my tin with olive oil and it worked fine.
Sift 1/3 of your cornflour and icing mixture over the tray, coating it well, then set it aside.
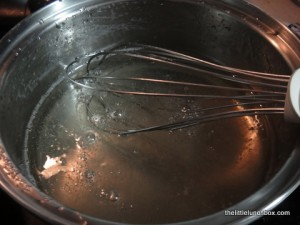
Stir occasionally until it changes from a cloudy colour to clear. Â It took a while for me to get it to this point, but then it turned clear very quickly.
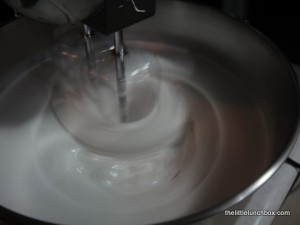
Now, turn your mixer to low and mix the gelatine mixture, and very slowly add the clear sugar syrup you have just boiled. Â Make sure you do this on low because, as I said, this syrup is extremely hot. Â Once you have added all of the syrup, scrape down the side of your mixer and then turn it to high and mix for 7-10 minutes until it looks like a very thick meringue.
Add your vanilla, salt and food colouring, and beat for another minute until it is well combined. Â Make sure your colouring has gone through your whole mixture by scraping down the sides of your mixer.
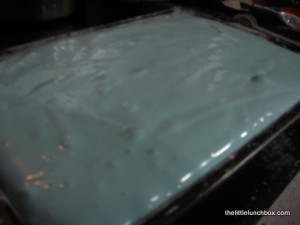
Pour into your baking tin/dish and smooth out the top to ensure it is evenly distributed throughout the tray. Â Leave it to sit for 15 minutes to set. Â The great thing about this recipe is that you don’t even need to put it in the fridge to set, just leave it on your counter.
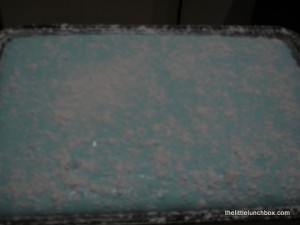
After 15 minutes, dust the top of your mixture with 1/3 of your cornflour/icing mixture . Â This job is one for the kiddos.
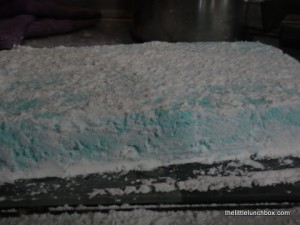
Lightly dust a cutting board with some of your cornflour/icing mixture and turn your marshmallow out onto the board and dust with the remaining cornflour/icing mixture. Â Can you tell I let my kids finish the job? Â No light dusting here.
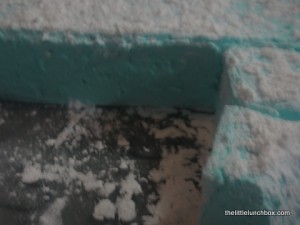
Cut your marshmallow into squares, or let the kids at it with cookie cutters if you dare.
I tossed each piece through the cornflour/icing mixture on the board to get rid of the sticky sides. Â This is another good job for the kids.
Store in an airtight container in the refrigerator. Â I think it tastes even better the next day. Â If you have any left that is!

